


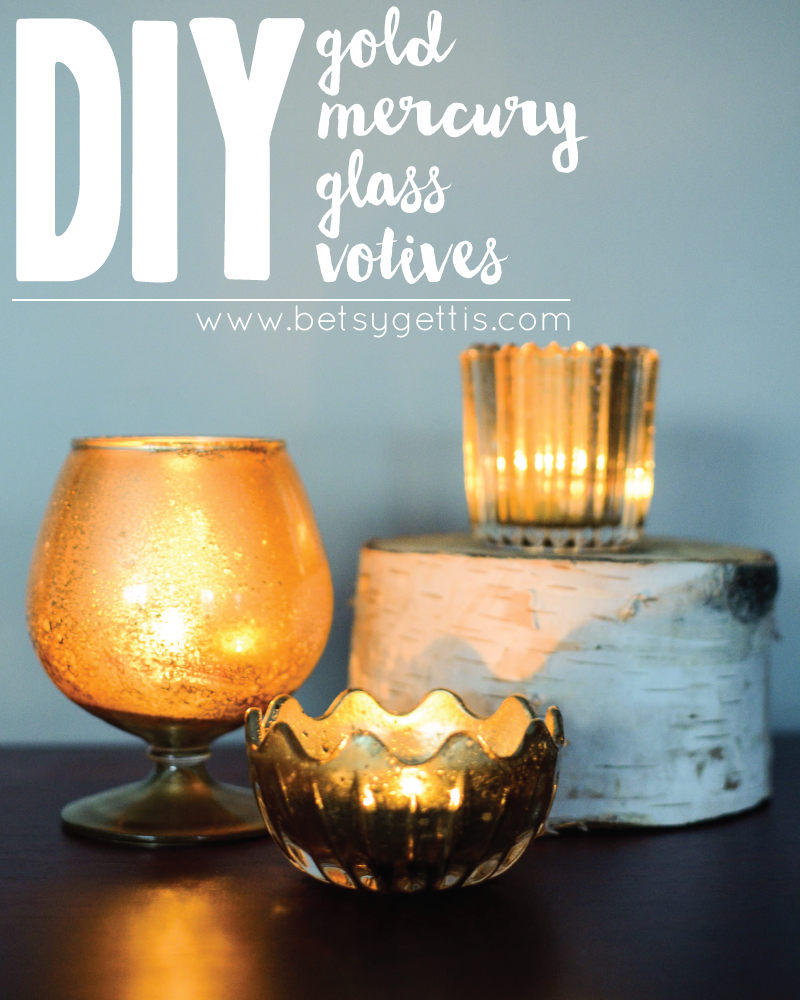
i have a whole list of diy ideas for our wedding, and amongst them was making my own faux mercury glass votives. after checking out a few ways to do it with mirror-finish paint, i thought i'd try adapting what i had read using gold paint to create some pieces that would better fit our color palette. i'm happy to report that i was not disappointed! this diy was so easy to do, and for this instant-gratification-loving girl, was even better because it could be done in an afternoon!
so let's dive right into it. here are the instructions for creating your own gold faux mercury glass votives!

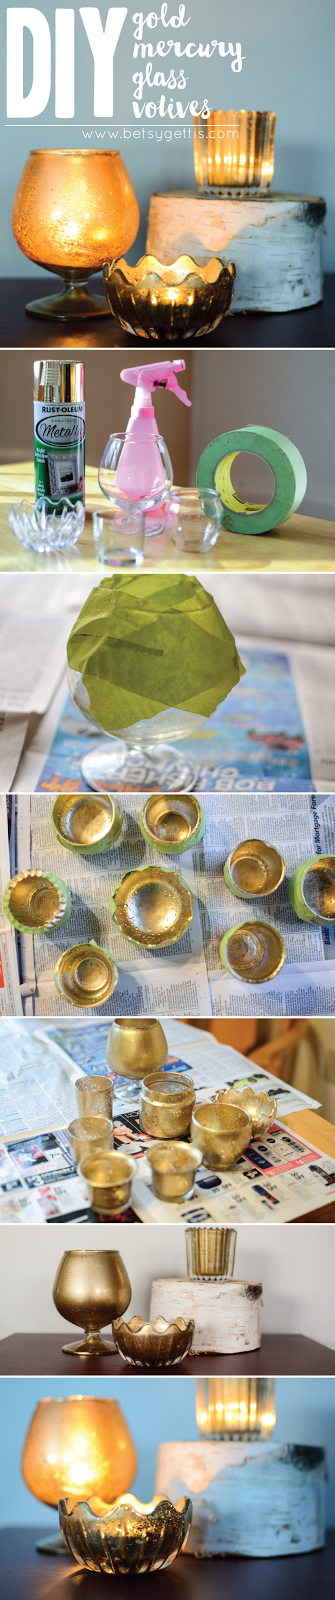
here's what you'll need:
a spray bottle (i picked this one up for less than a dollar in the travel section at target)
water
gold metallic spray paint
glass votives or jars
napkins or paper towels
paint tape or masking tape
newspaper

1 // line your work surface with newspaper (if you can, it's probably better to do this outside, but if you're stuck in an arctic tundra like me, work in a ventilated space and cover your table!)
2 // using your masking tape or painter's tape, tape around the top of your votives. this 2" wide tape was perfect and helped protect the outside of my glassware from overspray.
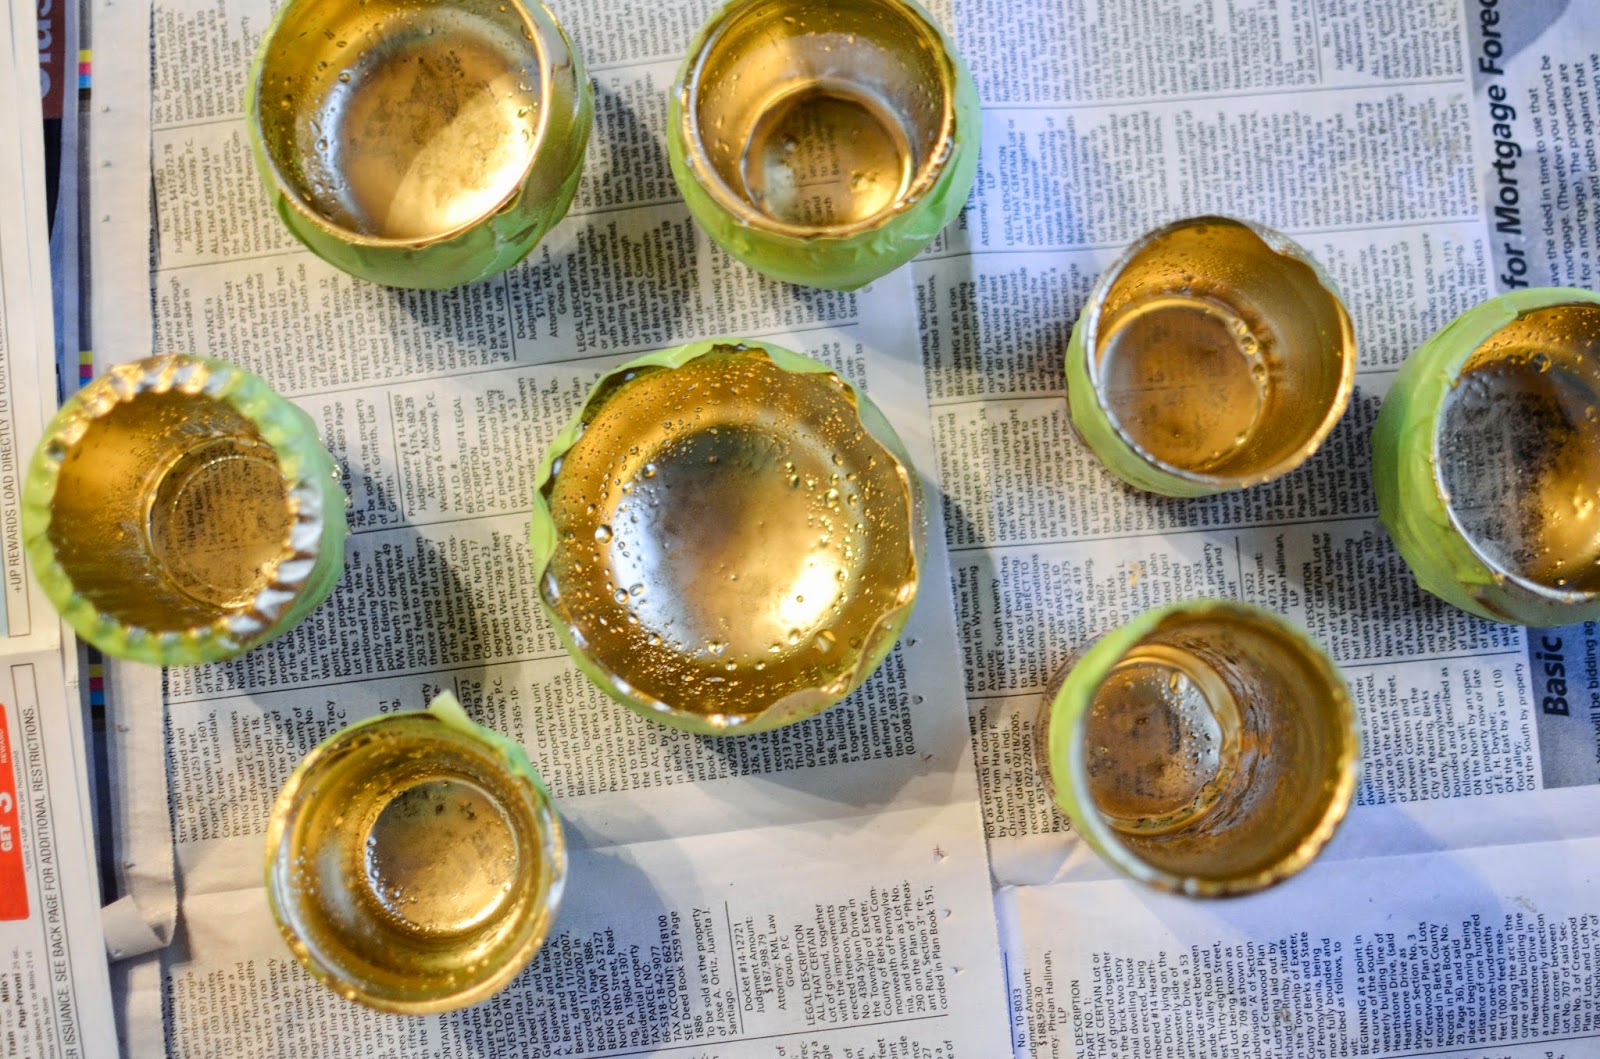
3 // spray a light layer of water on the inside of your glassware. you want the water to bead up. then, spray a light layer of paint around the inside of the glassware. the paint won't stick to the glass where the water beads are. let your votives set for a few minutes. they don't need to be completely dry, just tacky.
4 // take a paper towel or napkin, roll it up, and soak up the excess water and paint that has pooled at the bottom of the votive holder. try not to touch the walls of your glassware.
5 // then, repeat steps 3 and 4 two more times. spray water lightly, then paint lightly. (you can adjust the number of coats you apply to fit the look you want. i found that two coats just wasn't enough, but that three gave me the look i wanted. play around with it and find what works for you!)
6 // when your last coat is mostly dry and doesn't smear to the touch, take a paper towel or napkin and run it around the interior of your glassware, loosening the paint that hardened over the water bubbles. this will give your glassware that "mercury glass" look, and will allow light to shine through the holes in the paint.
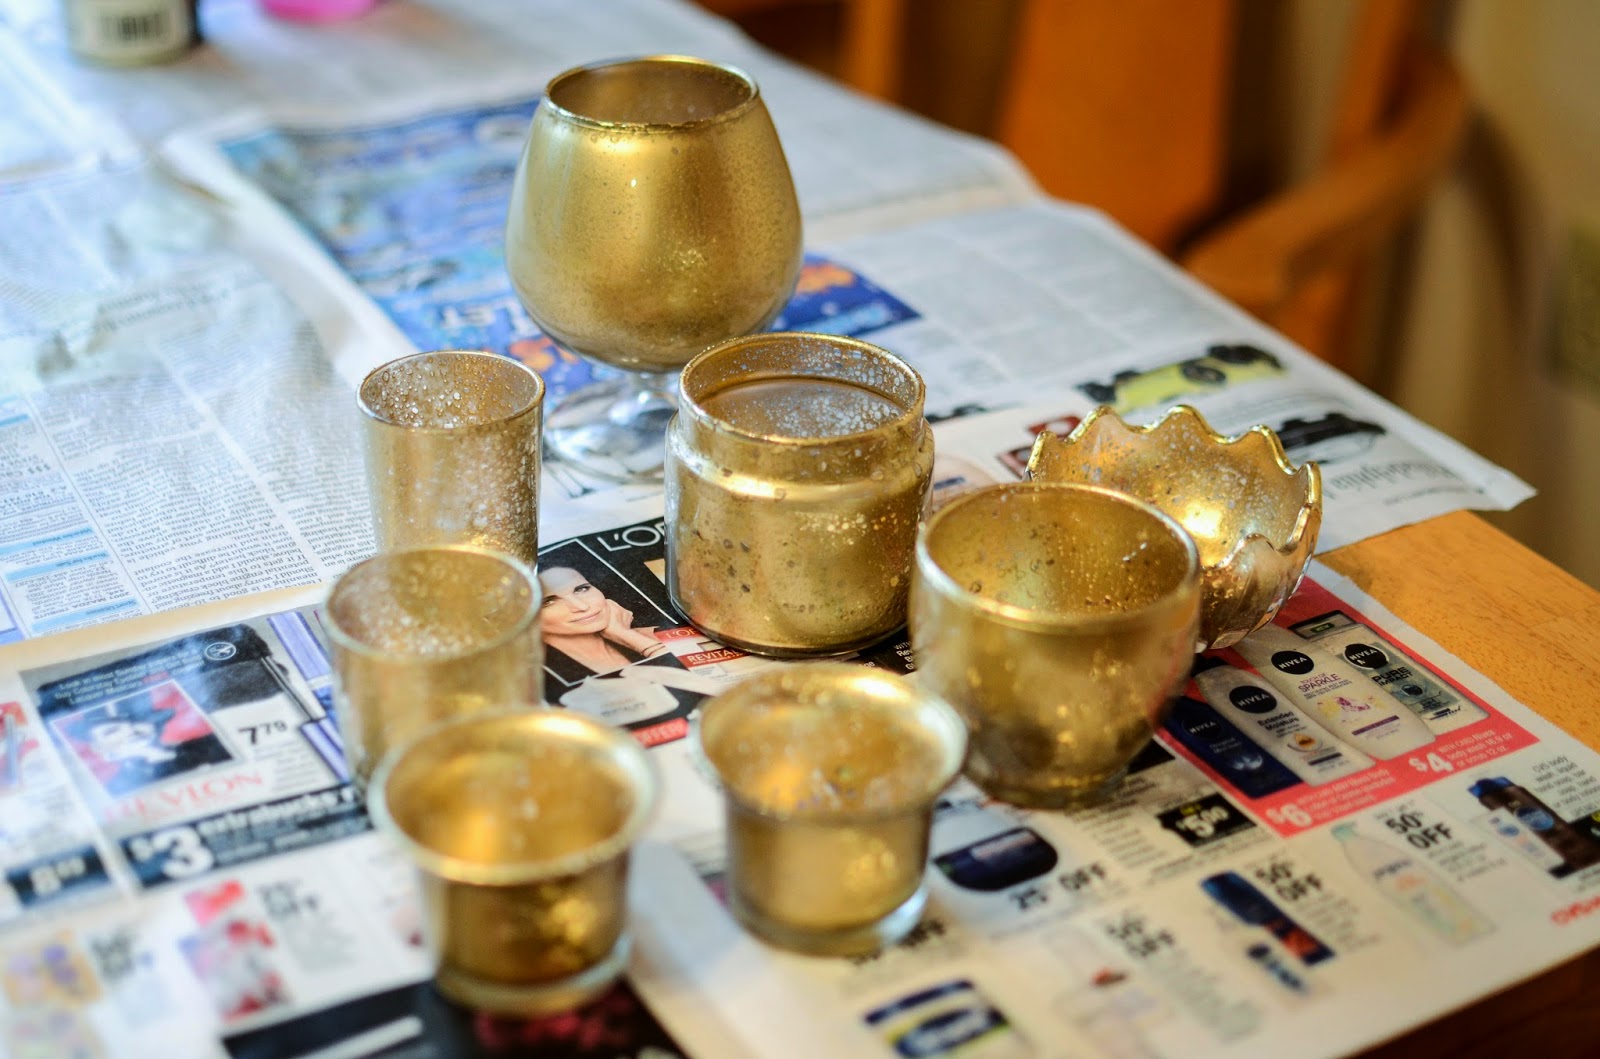
7 // remove the tape from the outside of your votives, and once they're completely dry, put a votive inside and light them up! be sure to use votives that have the metal holder around them. if wax gets on the inside of your glassware, it will likely take the paint off of your votive holders. if you choose to use this method on a larger piece to use it as a vase, be sure to put another jar inside of your mercury glass vase, as water will also damage the paint.
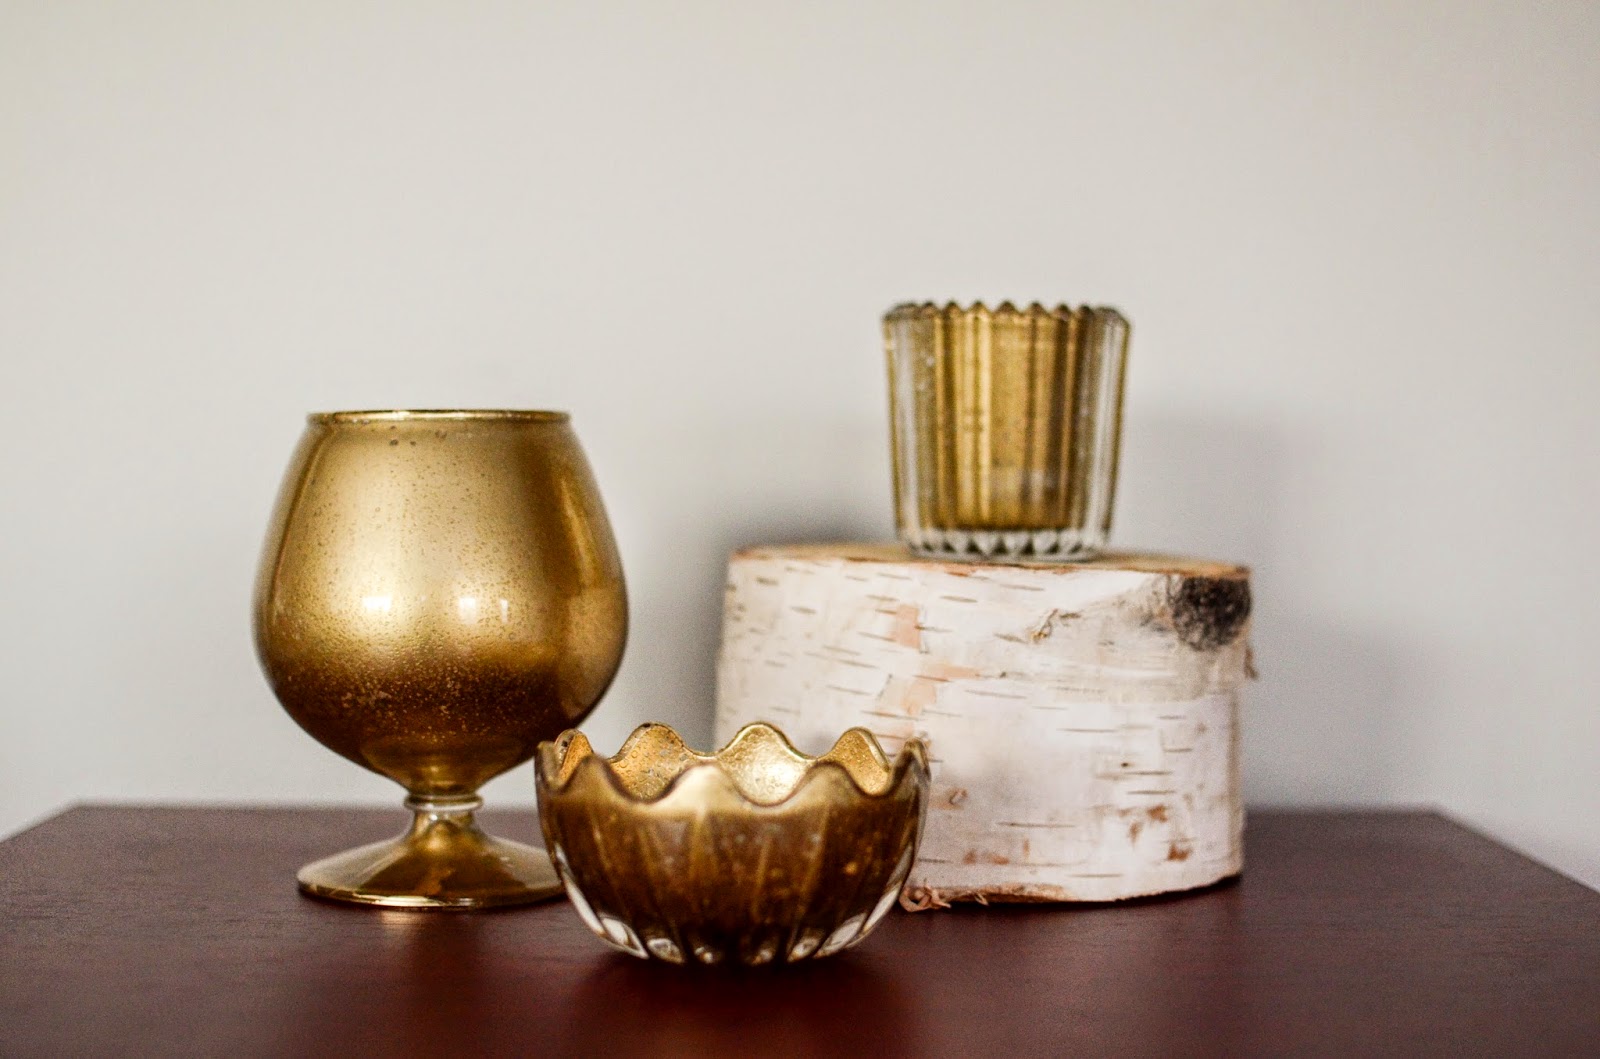
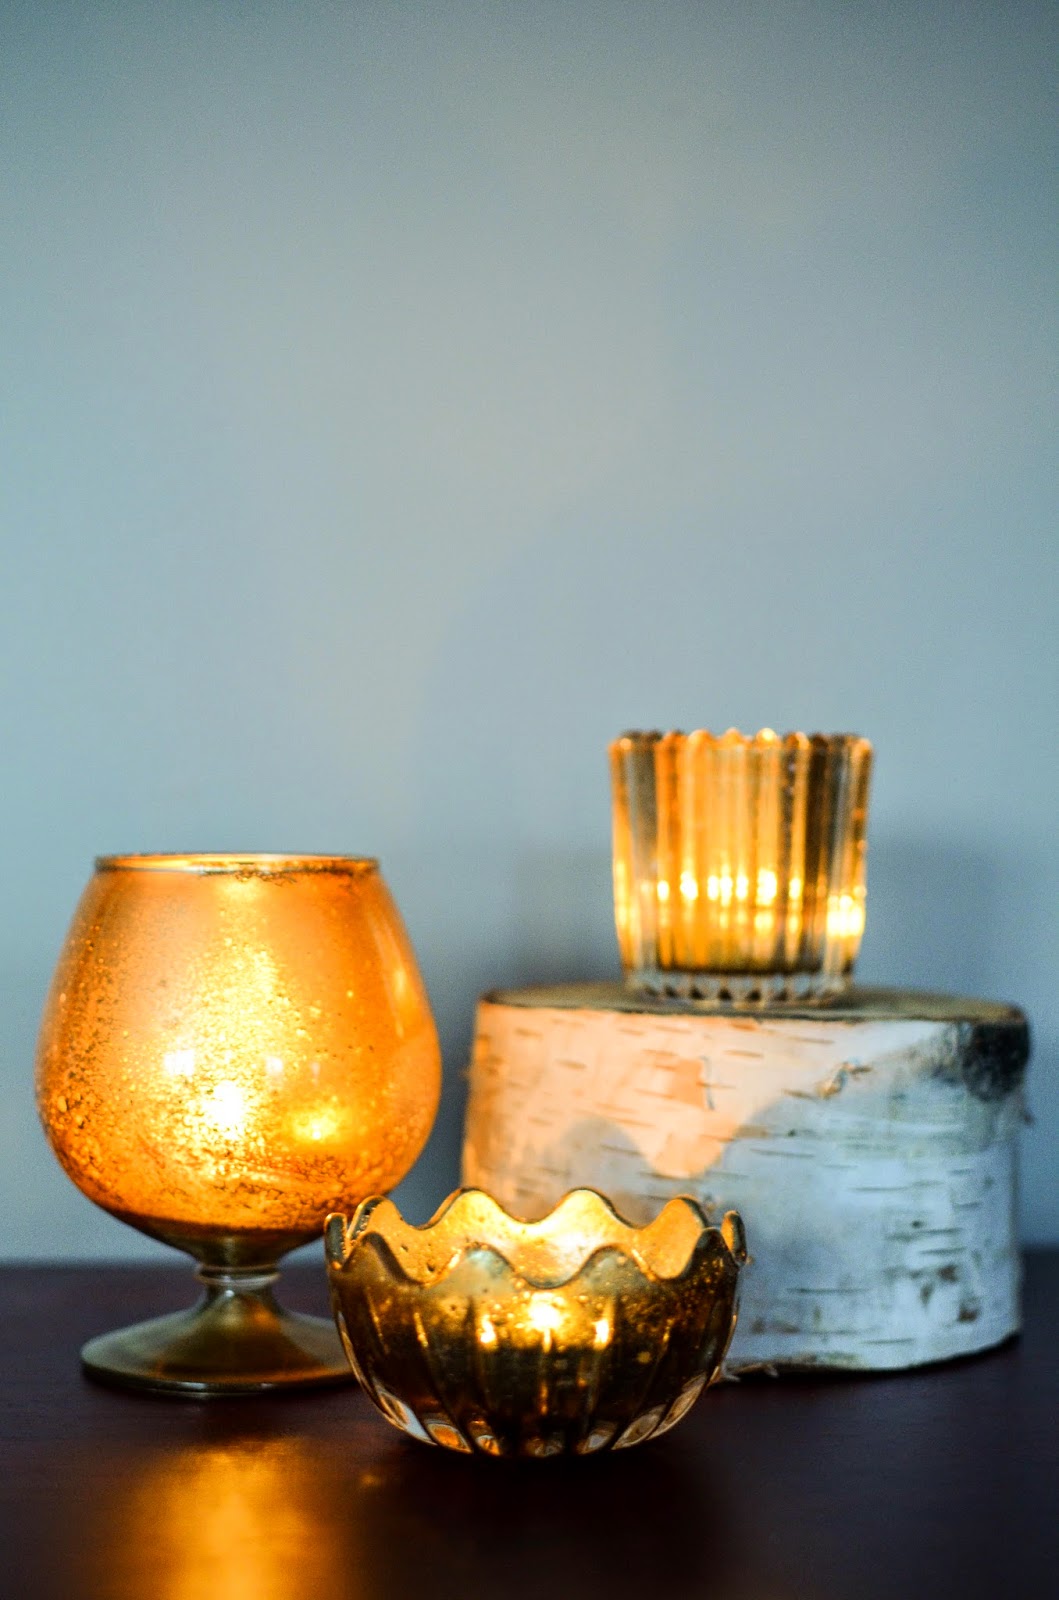
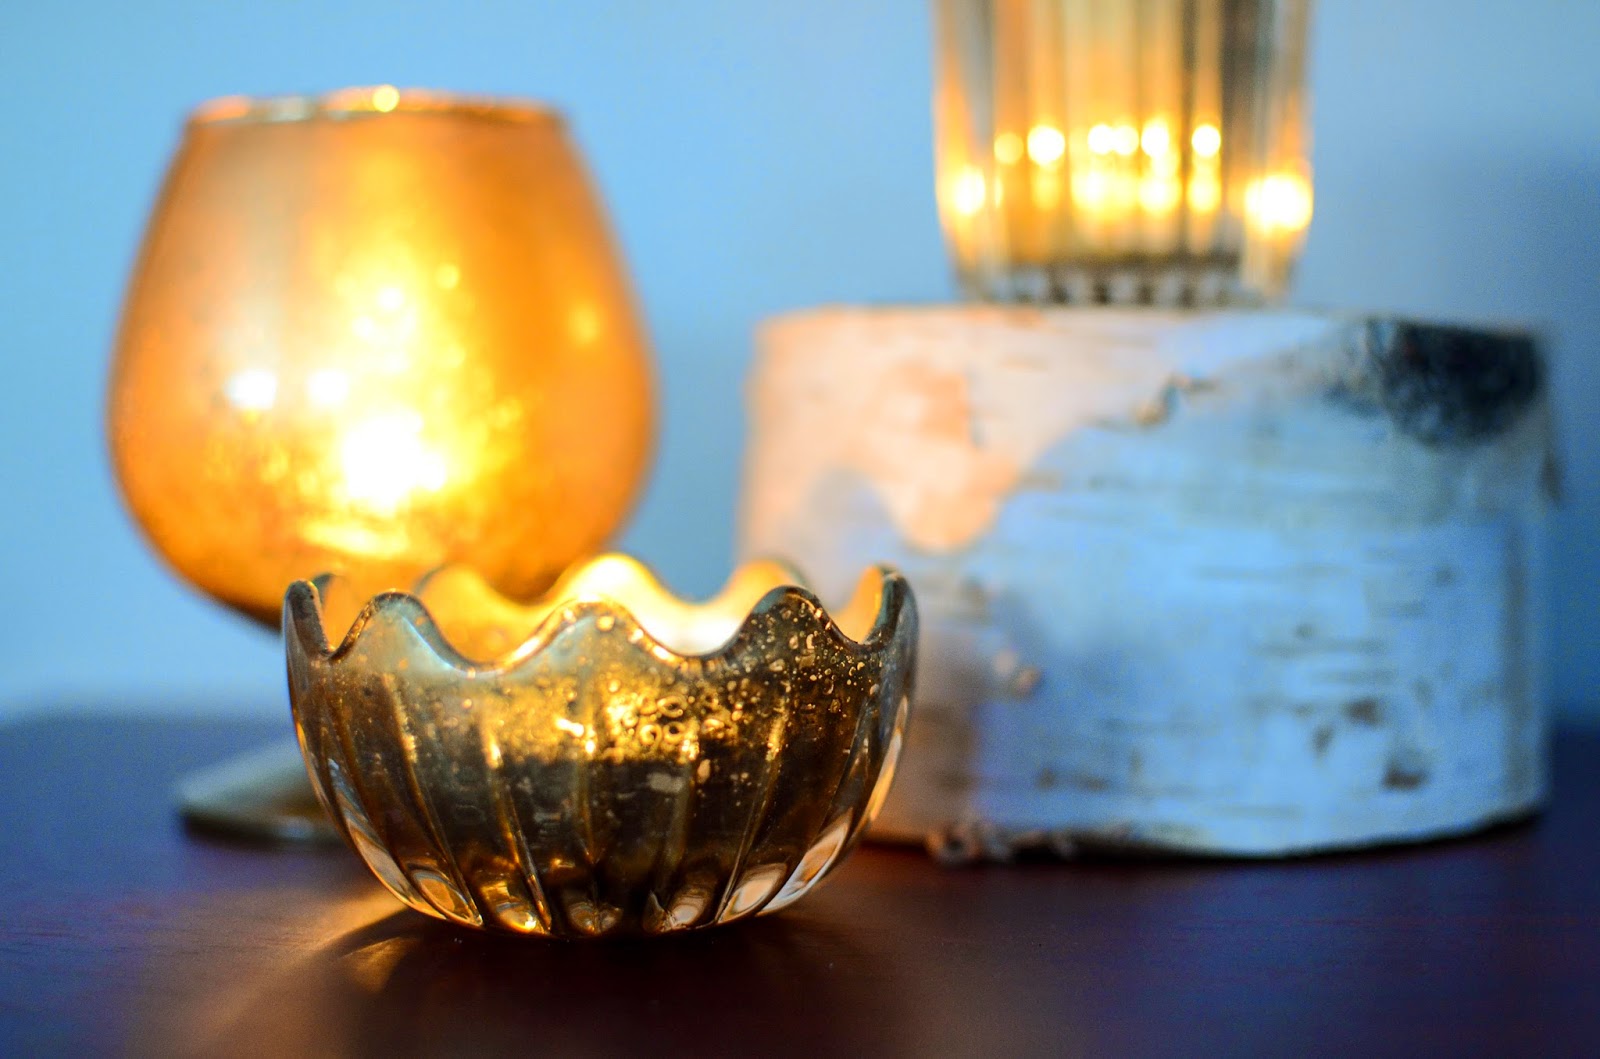
that's all there is to it! i love the way mercury glass makes candles flicker and glow and the gold casts a really nice warm glow in a room, and even when they're not lit, these bring great color and texture to a decor scheme. i'm so excited to use these in our centerpieces!
and if you'd like to pin this diy (which i would love you forever for!), feel free to pin the full picture tutorial here:
do you love mercury glass? do you think you'd ever try to make your own?


I love this idea!! So cute and it looks like it wouldn't be hard at all. I like these types of DIY things. Thanks for sharing!
ReplyDeleteThese are awesome! I have been collecting lots of DIY ideas like this for my wedding and for my house when I move. I want to make these!
ReplyDeleteThat looks so good! I LOVE mercury glass but haven't bought much because it's pricey! This is a great alternative!
ReplyDeletei'm totally in the same boat! love it, but don't love the price tag! this was so easy to do, and i'll be sharing the silver ones in the near future...they look just like the real thing!
ReplyDeleteit's stupid how easy they are to make! i'm DIY-ing a ton of stuff for my wedding, and this was just one of the first things!
ReplyDeletethanks faith! it was so easy...and quick!
ReplyDeleteHow simple yet gorgeous!! I absolutely love this...I am going to have to try this for sure!!
ReplyDeleteOOO I love it! Can't wait to see all your wedding decor!
ReplyDeleteThis is beautiful!!! Thanks Betsy!
ReplyDeleteI looove this! My best friend is having mercury glass at her wedding and she'd love this tutorial!
ReplyDeleteThanks so much for this tutorial...pinned it! I love mercury glass and had no clue it could be this easy to DIY.
ReplyDeleteI cannot believe you made these!! They are gorgeous!!
ReplyDeleteYes! This is amazing! And gees way to save money and do it yourself! I love this!
ReplyDeleteSo cool and so easy! Thanks! Stopping by from the Peony Project. Love it!
ReplyDeleteSuch a fun DIY Betsy! Love this!
ReplyDeleteI love these! I will be making these for when we get a house this summer! I love DIY decor pieces
ReplyDeleteI found your blog through Pinterest and was reading your About page when I realized where you're from! I used to live in Mt. Zion (my dad was on staff at FBC Mt. Zion). Then my parents moved to Carbondale where we met a fellow named Jermaine who is apparently on staff where you are. Such a small world! Too funny.
ReplyDeleteI love how these turned out and I can't wait to see how you incorporate it into the wedding decor!! They are so pretty and are so budget-friendly since you can buy glass at thrift stores for almost nothing!
ReplyDeleteThanks Hayley! So true...these were INCREDIBLY budget friendly!
ReplyDeleteLove this tutorial, Betsy! I've been wanting silver mercury votives for some of my centerpieces, but they're expensive - going to try this DIY out in silver. ;)
ReplyDeleteI love the way it looks in gold! I've been wanting to try this for a while,
ReplyDeleteYay! This is an awesome DIY. I'll definitely be trying it out :)
ReplyDeleteThis is so cool, Betsy!! I love the way it looks when a candle shines through- so pretty!
ReplyDeleteI love this! I redid old lamps in our house something similar to this to create a mercury glass effect! So fun to redo things, especially for your wedding!
ReplyDeleteSuch a great DIY! I always can use votives and am really digging gold right now. I'm going to feature this post on my Blogger Love tomorrow if that's ok!
ReplyDeleteThis is such an awesome idea for adding warmth to a house. I bet they will look amazing come November!
ReplyDelete-Anastasia Ivy
http://www.ivyoverjoyed.com
I feel silly for thinking this, but you're not worried about the candle flame and the spray paint on the inside of the votives? If it's 100% safe, then I will have to try this!
ReplyDelete