When I repainted my room about two months ago, I decided to go slow with the redecorating process, especially in terms of wall art. I just wasn't sure what I wanted. I looked around and found a few things I liked, but nothing I wanted to spend the money on. So finally, I decided to create something for one of my walls that would be what I wanted and would also be special.
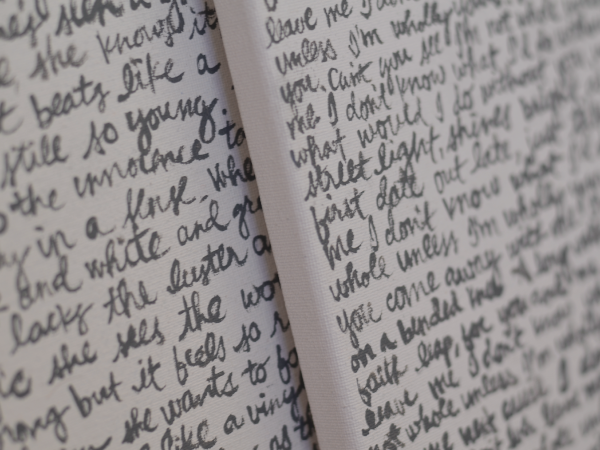
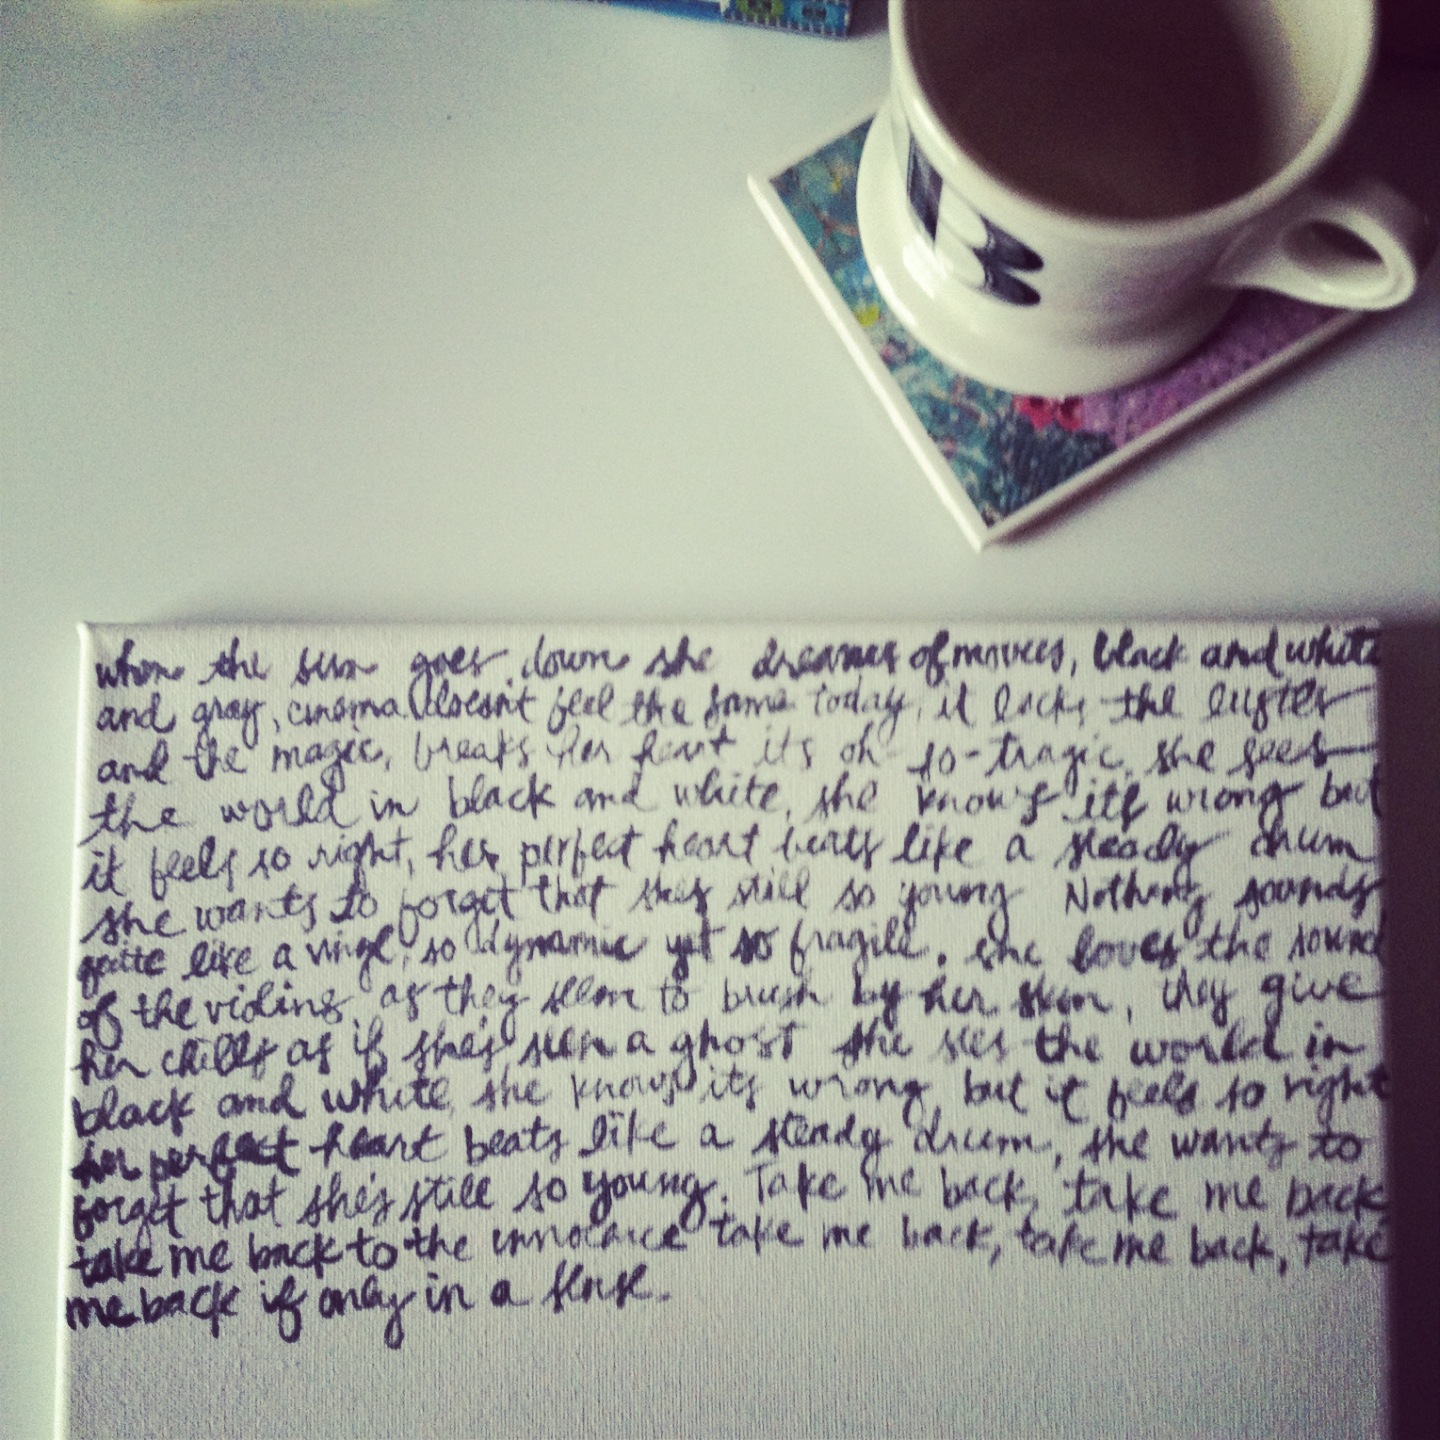
I love the look of script on canvas, and had seen a few ideas on pinterest, but then of course, choosing what to put on it was the biggest challenge. I wanted something that was unique but not corny. I thought about song lyrics and Bible verses and sayings, and then finally, had the idea to use some of AJ's lyrics. (By the way, check out his website and listen to some of his stuff!)
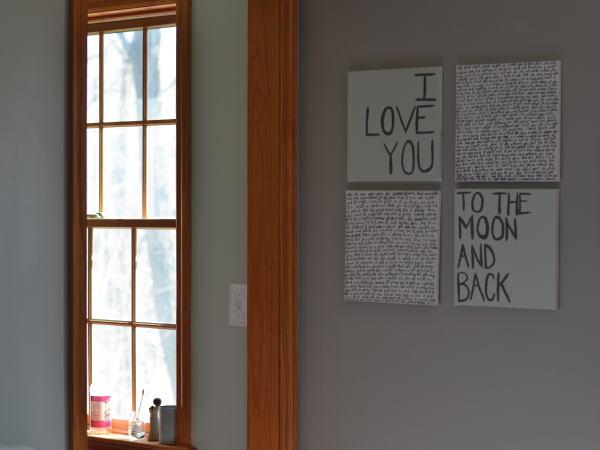
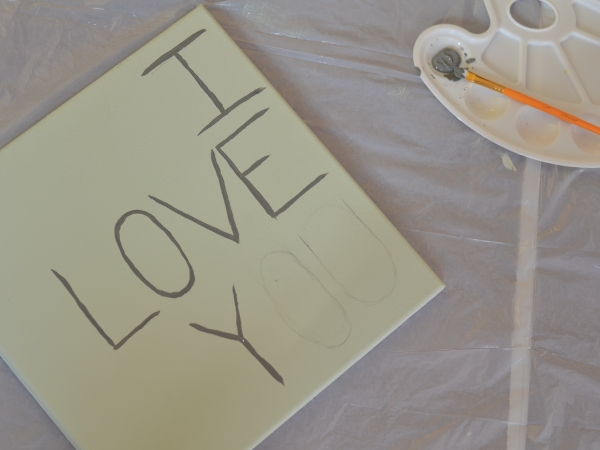
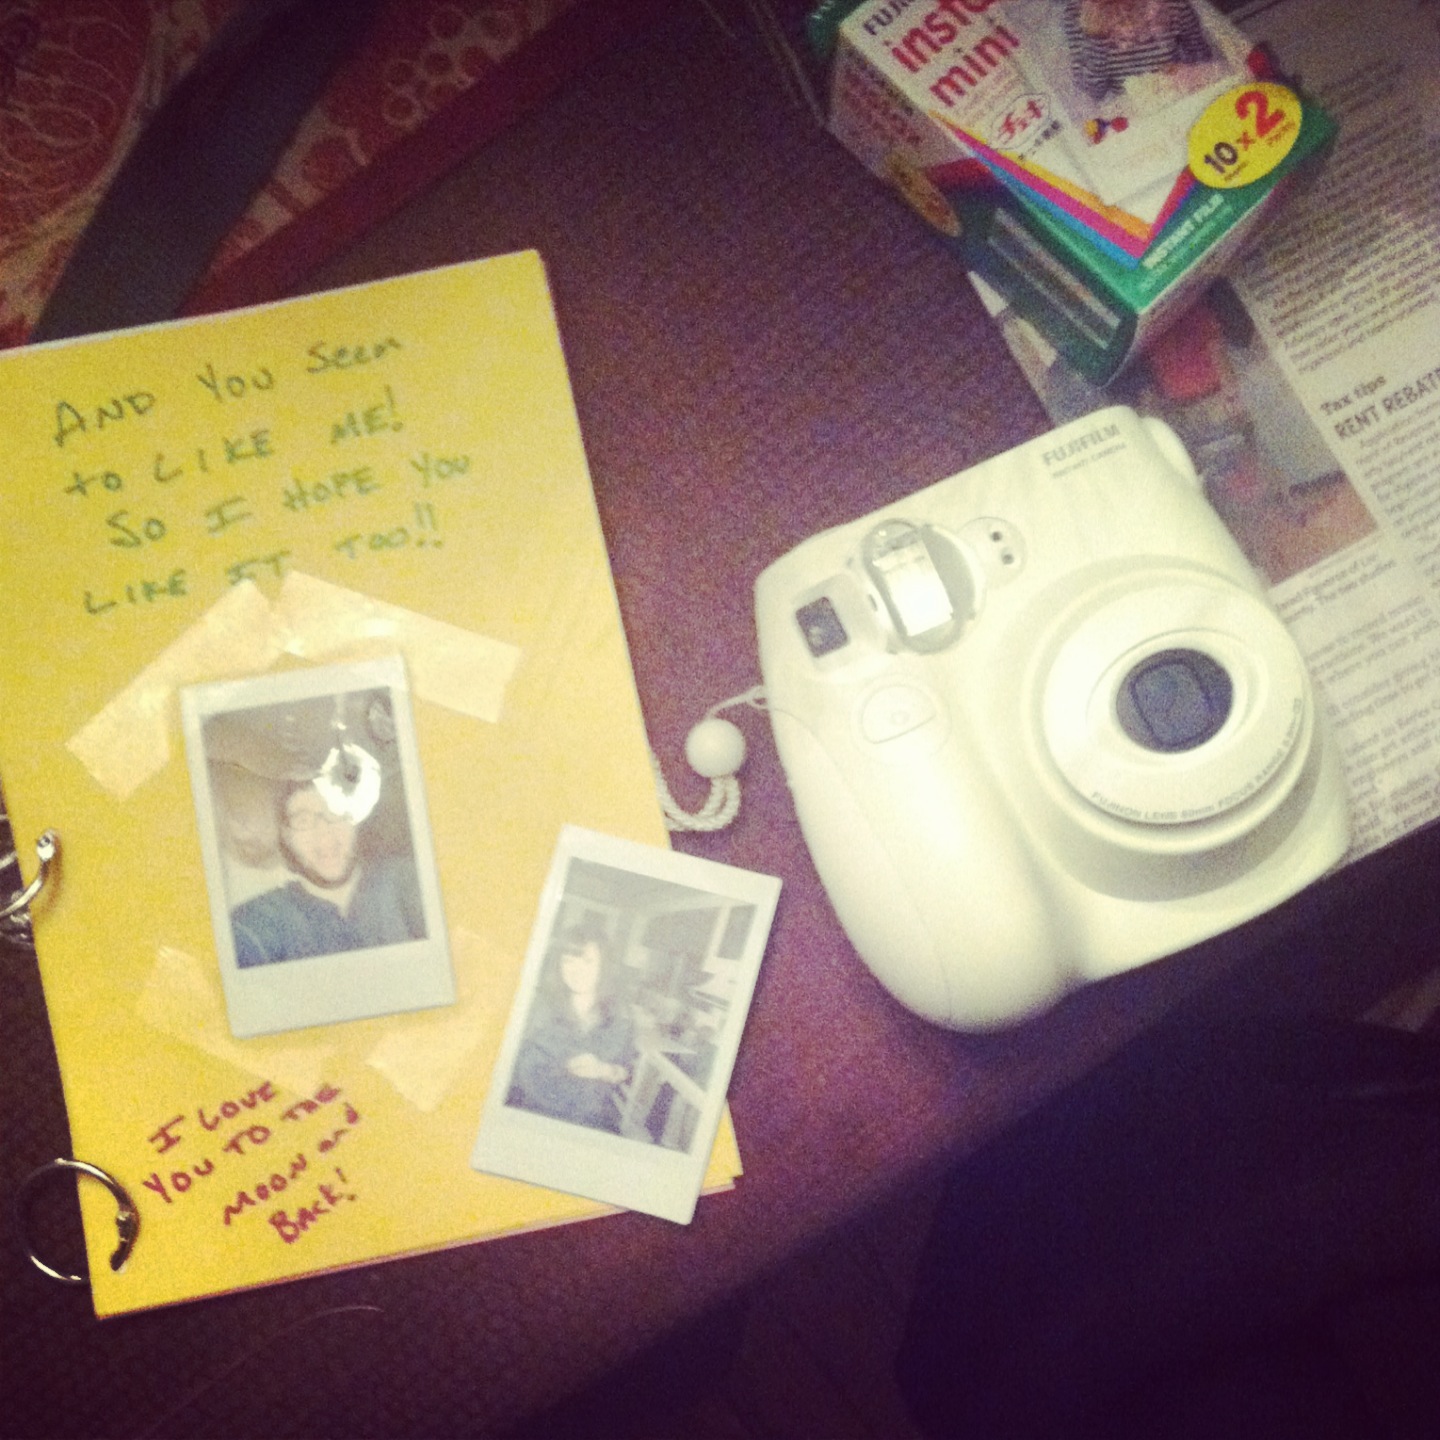
So I painted two of the canvasses with lyrics, just repeating the songs until the canvas was full. Then, the second challenge came. I couldn't figure out what to do with the other two. I originally painted this water-colory design with the mint hue that's on my walls and the mustard that I've accented with, but it was just to bold a contrast alongside the lyrics. I wanted something that was subtle in it's color but stood out, yet still complemented the lyric canvasses. And so I chose to split the phrase "I love you to the moon and back" onto the two.
I'm really happy with the way they turned out! They're a fun piece of wall art that I created and they're both special and sentimental! I love the way they fill the space on my wall.
One of the perks of dating a worship leader is that I tend to be pretty in-tune with new worship music. And a few weeks ago, Hillsong United released their newest album, Zion. The fourth track on the album is entitled "Oceans (Where Feet May Fail)" and boy, it's amazing. It's the type of song that makes me want to do a better job of loving Jesus and I've listened to it on repeat for quite a few car rides this week.
There is just so much lyrical gold in this song, but here are a few of my favorite lines:
I will call upon Your name
And keep my eyes above the waves
When oceans rise, my soul will rest in Your embrace
For I am Yours, and You are mine
....
Spirit lead me where my trust is without borders
Let me walk upon the waters
Wherever You would call me
Take me deeper than my feet would ever wander
And my faith will be made stronger
In the presence of my Savior
AJ just led this song at our youth service this week and as he and I were talking about it afterward, he said something that got me thinking. The song is based off of the story of Peter walking on water, which can be found in Matthew 14. You probably know the story...Jesus walks on water and calls out to Peter to join him, so Peter gets out of the boat and starts walking until he gets scared, and he starts to sink. But here's the little detail that I think packs a big punch. In verse 30, it says "But when he saw the wind, he was afraid..." Here's the thing. If I'm Peter, I think the least of my worries would be the wind. I mean, I'm used to being on a boat, a sailboat, no less. Wind is a part of my everyday. But that's what makes this so important...it was the little thing, the thing that he faced day in and day out, that ended up leading to him sinking.
It just so happens that I'm also reading The Circle Maker by Mark Batterson right now. He writes all about having big dreams that lead to big prayers, and his philosophy is that the bigger our prayer is, the bigger the glory to God is when He answers it. And here's the connection with Oceans. I think that big dreams and big prayers also require big trust. It's so easy to pray the little everyday prayers, and often, those are stepping stones on the way to the big dream. Batterson's claim is that we need to start defining the dreams that God has given us and circling them in prayer, believing God to fulfill His promises. And I think there's a fear that goes along with praying circles around your biggest dreams. Because not only is it a leap of faith to hope for the fulfillment of those dreams, but what happens when they come true? It's easy to dream the dreams, but it's a lot scarier to actually have them fulfilled. And praying big prayers around promises that God has given you means that they will be fulfilled, in His steadfast provision.
And that, my friends is why I love this song. Because it holds the promise that God has made, that He hasn't abandoned us yet and He won't start now. And it reminds of the hope we have in Christ, that if we abandon our lives to Him and follow wherever He calls, we will find rest in His presence and He will constantly challenge and stretch and mold us to greater faith and trust.
And of course, I couldn't talk about this song without sharing it with you guys. It's long, yes, but SO worth listening to the whole thing.
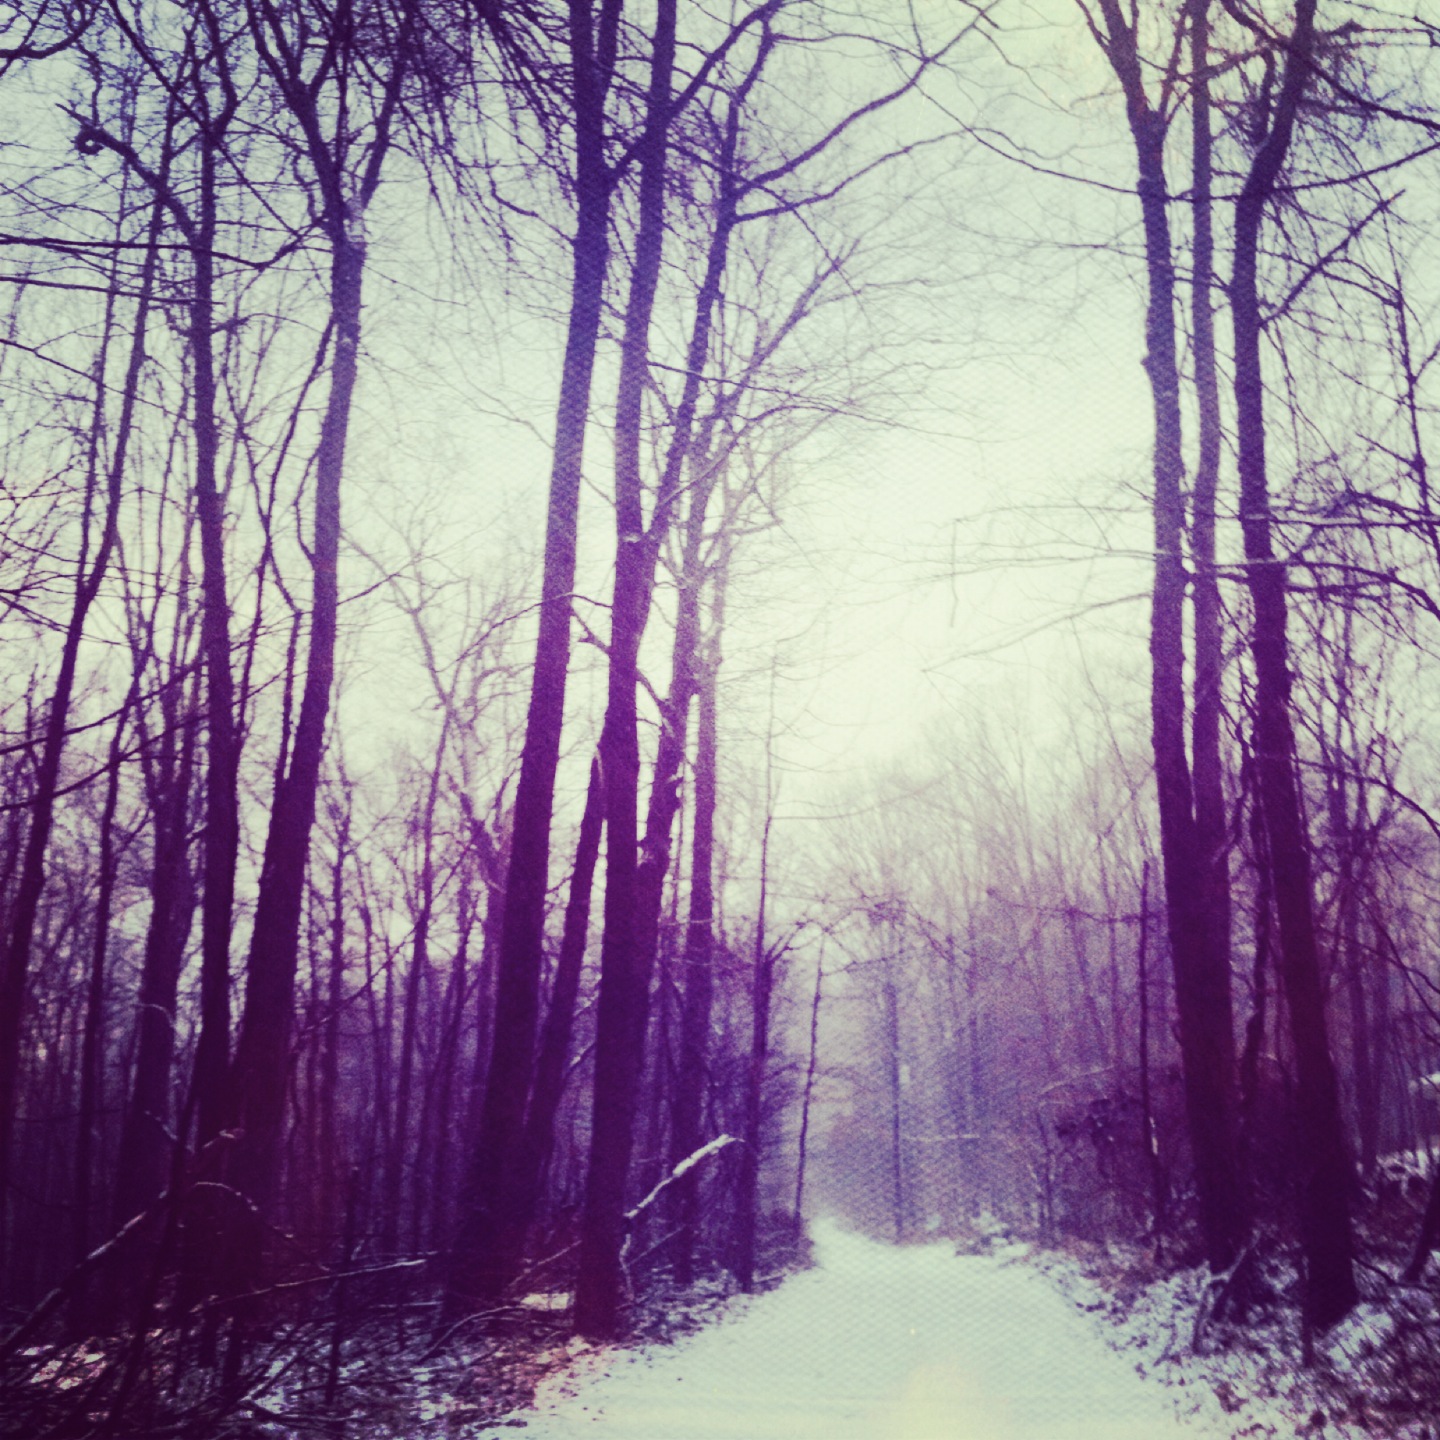
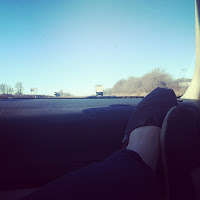
Spring has (almost) sprung here! Today I actually went running outside (yay!) and yesterday I didn't even need a coat when I left school (double yay!). It also means that my kids get outside for recess. Praise Jesus. Life is just so much better when they get outside for even just a few minutes.
Oh, how I love this day.
I love the extra sunlight and the promise of warm weather.
Losing an hour of sleep...well...not so much.
But this day, this season, is glorious.
I feel like this winter has been particularly brutal. There was a report that came out recently that said that we've had a shockingly low number of days with sunshine this winter (I think it was something like 12 since the new year began...uh, not okay). And I've felt it. I've just felt, well, sort of depressed, bummed out, lazy, mopey...you know? But daylight savings is here to save the day!
So get out there and enjoy seeing the sun for a little bit of extra time today. Spring and summer are on their way. (and they'll be here sooner than you know it)
Ooops! We're over a week into March and I'm slacking. I totally forgot to post my March resolution, from my 12 months of resolutions project!
But here it is...my resolution for March...spend less.
So spending less. Easier said than done, right?
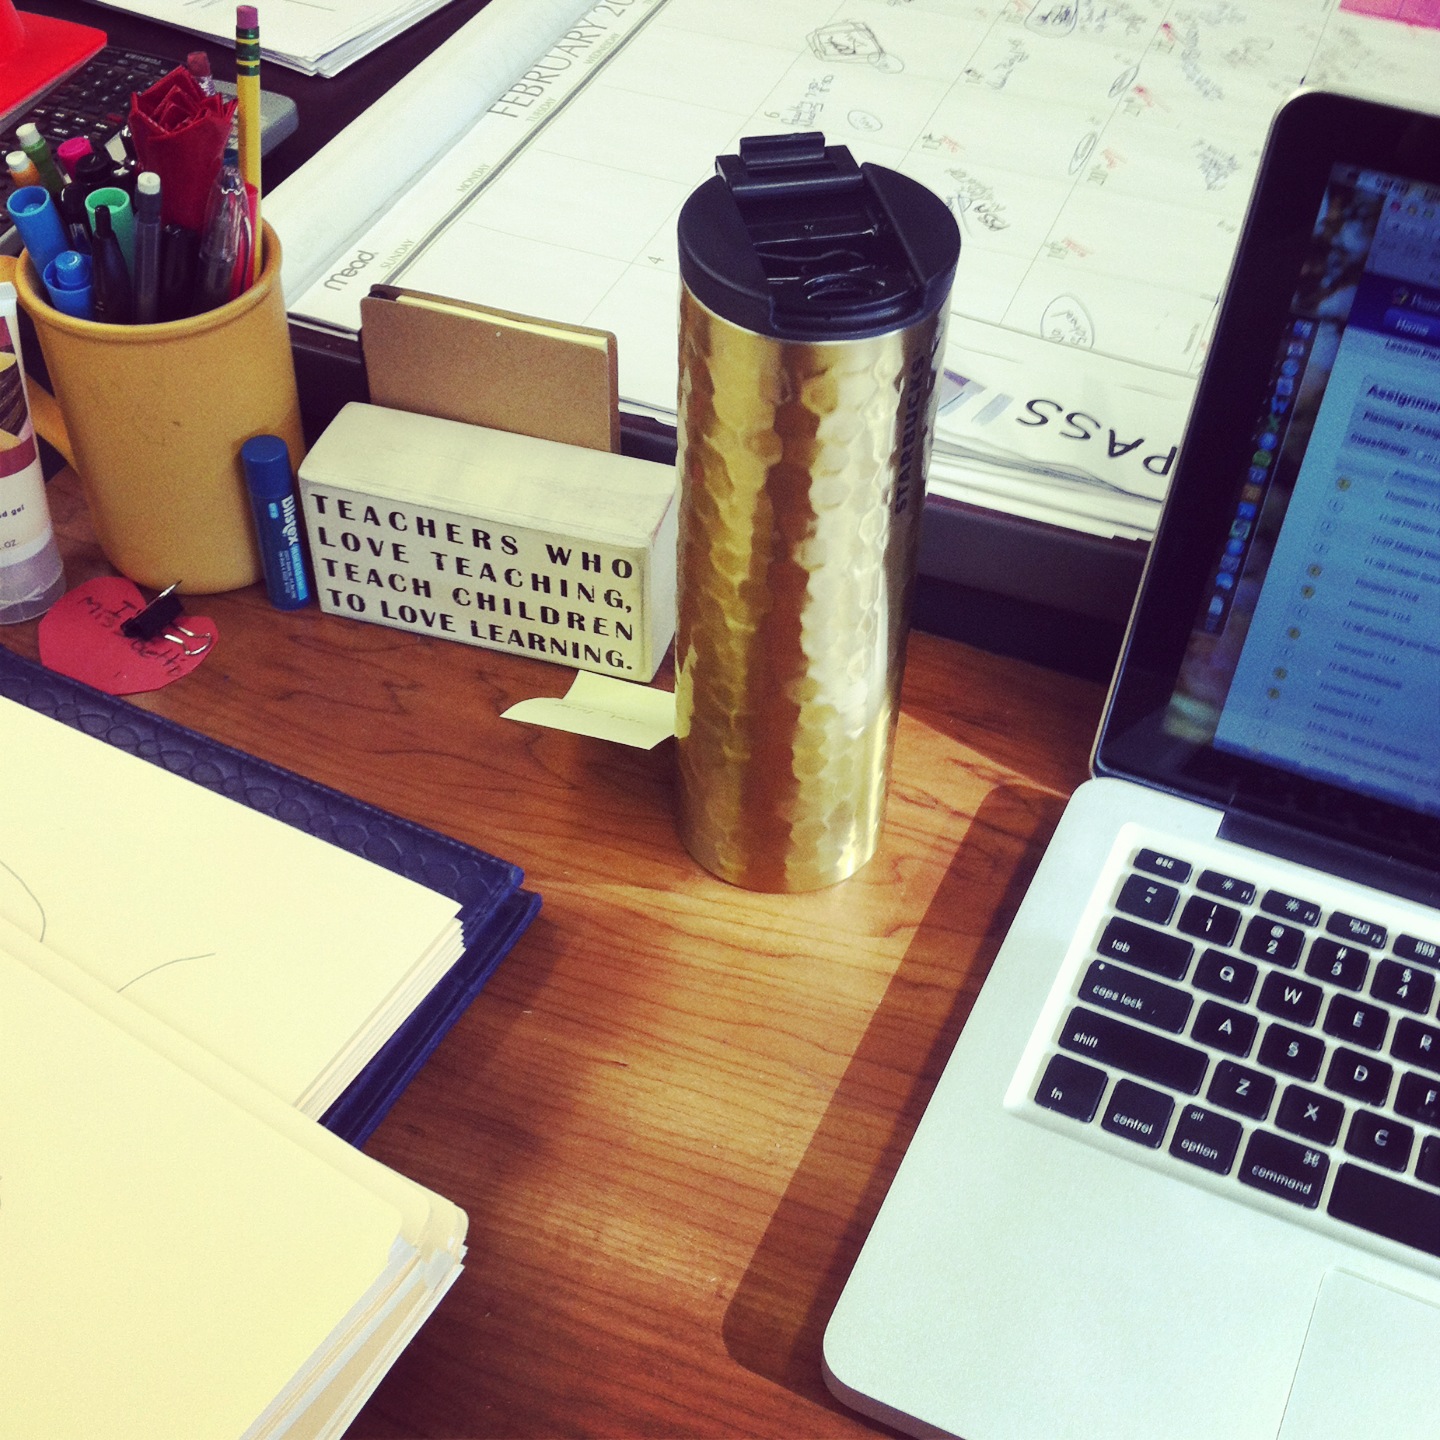
I've always been good at saving money. My mom used to work for a bank and my brother and I opened our first savings accounts when were were less than 10 years old. But right now, I'm not exactly earning a lot. I'm halfway through student teaching and while I'm still employed part time at my church, it's only 8 hours a week...so you do the math.
Besides just not making much money, I'm also in this stage where I will soon have quite a lot of money in student loans that I will need to start paying off. And going from a few months of not being able to save money to having regular bills to pay will be a little bit of an adjustment.
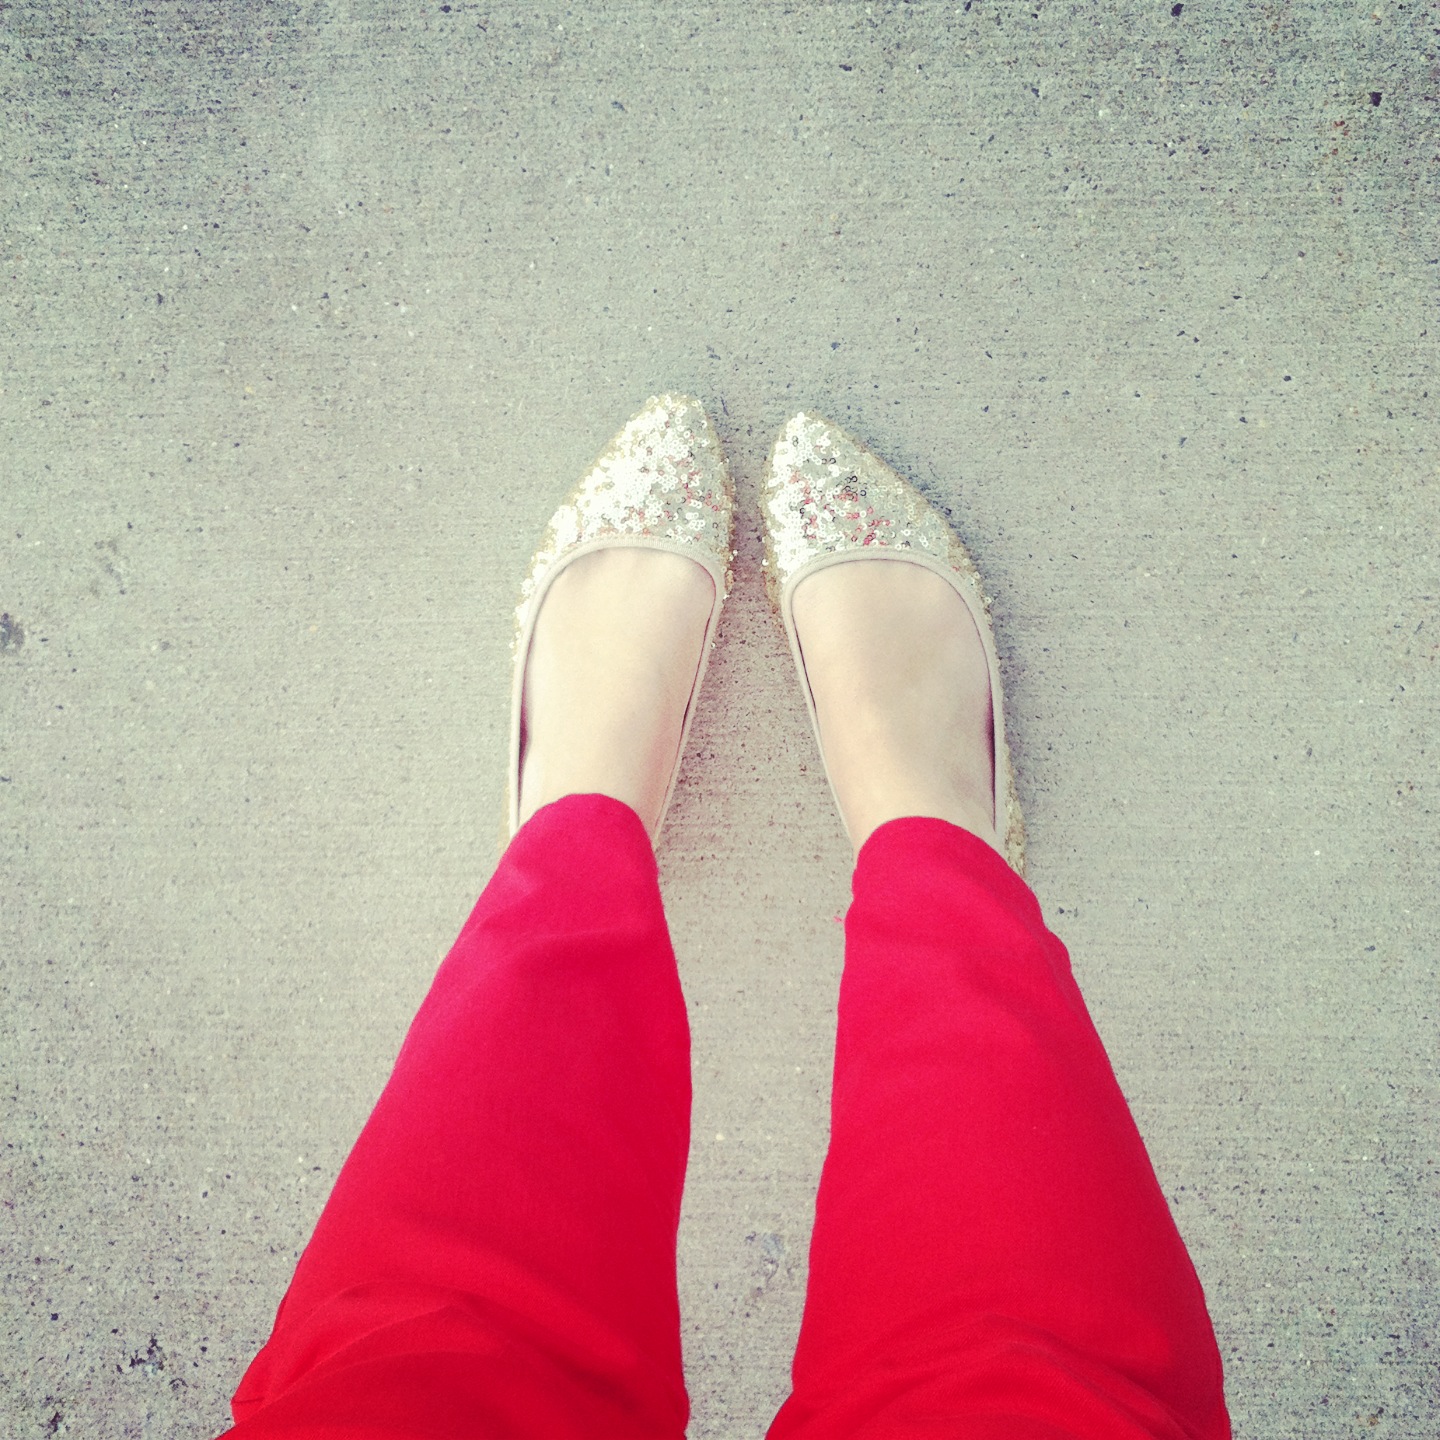
My plan for this spring has been to try not to pull any money from my savings and just to live off of what I'm making. And so far, I've been doing pretty good. But now I'm halfway through this period and it's getting warmer outside and the temptation for new spring clothes is starting to bud, and well, more self restraint is required.
I stumbled across this blog back in January. It's written by a girl who found herself in some extreme debt and then decided to enact some extreme measures to get herself out of it. I love the idea of a spending fast and spending diet...making a list of "needs" and "wants" and either just sticking to spending money on the needs list (the spending fast) or creating an allowance for the wants and sticking to that allowance (the spending diet).
I think it's crucial, especially in your early twenties, to start thinking about the long-term future and to start saving for that. And so, this March, I'm working on spending less and saving more. While I might not get to put a ton of money away, I at least hope to get into the habit of only spending on needs and the occasional want. Because, let's face it....I'm human and it's okay to pick up that dress I have my eye on at Target, right?
So today I'm so excited to share a DIY from Elizabeth over at Until Only Love Remains! Her blog is full of fun DIY's (and she's guest posted here before!) and thoughts about life.
i am so excited and honored to be guest posting on heavens to betsy! i just love miss elizabeth and she inspires me daily! i wanted to share with you one of my latest inspirations: a DIY ART WALL
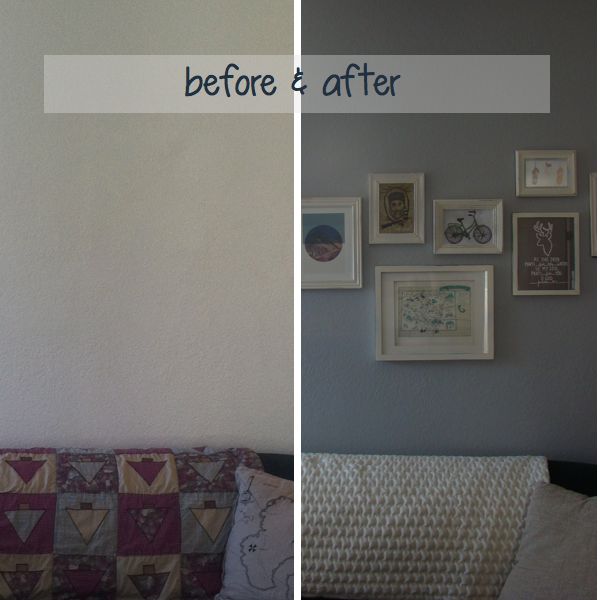
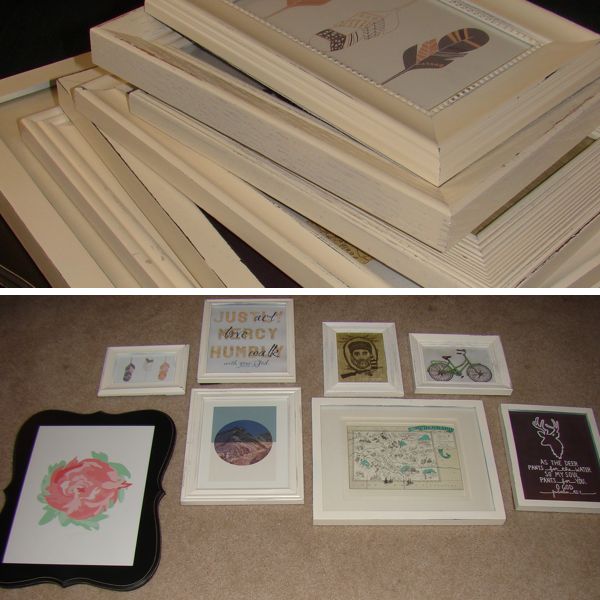
when i first started thinking about what to do with my living room, i knew i wanted an art wall! i had seen it blowing up the pinterest walls and two of my favorite blogs had shared their art walls here & here. so i've been saving up my allowance, collecting frames at thrift stores, and gathering art for my wall.
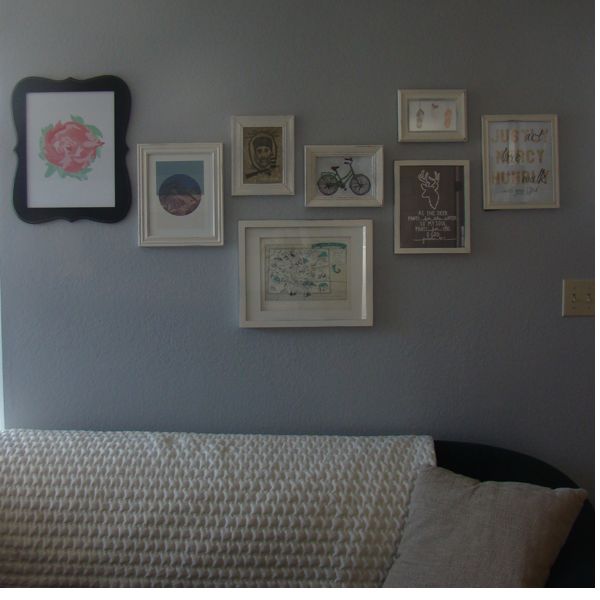
it's finally finished and i love having something on my big empty wall!
HOW TO PICK THE ART:
i feel silly writing this because it seems like it should be common sense - yet i was unsure where to start when i set my sights on an art wall.
1. pick a theme. this is important because i didn't do it right away and ended up buying some prints that i did not use (i still love them so i will use them around the house in other places!). i started just buying things i liked and taking advantage of all those christmas promo codes! i was finding so many things i liked but when i put them together, they didn't work. an art wall is all about the whole. it is each piece coming together.
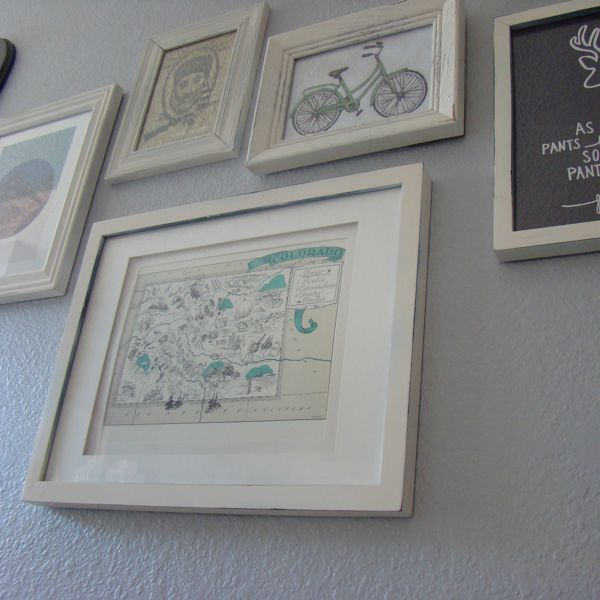
my theme became Colorado. Bruce & i met at camp, got married in chacos, and now own our first house here at the foot of Pikes Peak. i also wanted to pull in pops of mint, blues, and pinks (just like our beloved red rocks & our purple mountains majesty) 2. start collecting your pieces. hit up etsy and search for your theme. look on pintrest and click on the links - see if you can buy some of those things you have pinned! search your house, one of the prints we put up was a card from my dear friend.
it is okay if it takes you awhile to find all the pieces. you want to love them & not just buy the first 10 things you see.
some tips:
- if you find something you love but it is out of your price range, ask the artist for a deal. they want your business and want you to keep coming back to them.
- find up and coming artists. they have unique art at cheaper prices because they are building cliental
- look at the posts from your favorite blogs to see where they bought their stuff OR buy the art from your favorite blogs and show your support for their work!
- check out society 6. it is a collection of art from many different artists and a treasure trove of artwork!
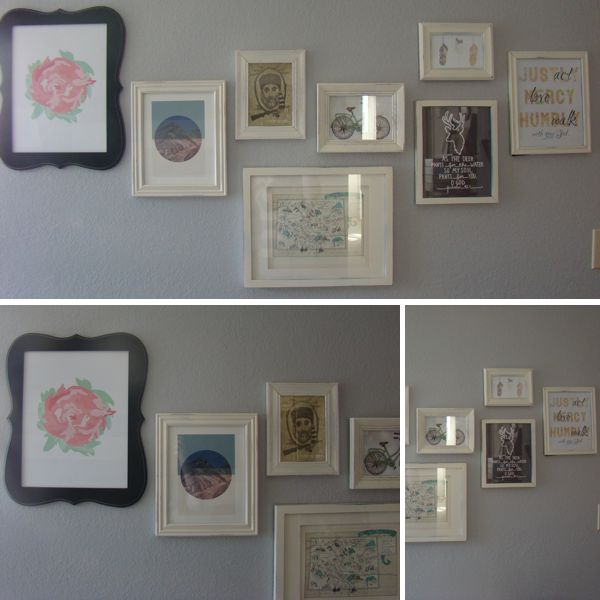
3. think of sizes. you want a range of prints in different sizes. if you only have one 5x7 and the rest 8x10s you will have trouble organizing them on your wall. this was also hard for me because i loved every print so much that i wanted to have it in the biggest size i could - but then my wall wouldn't look as eclectic as i wanted it to. you can also play with matted frames to make small prints take up a larger frame!
HOW TO ORGANIZE THE WALL:
1. once you have all your art pieces in your frames, clear the floor in front of the wall you want to use and play with different ways to lay out the prints. i liked to be able to keep looking on the wall to make sure that my arrangement would fit on the wall between the two windows i have in my living room.
2. get out the nails and grab the hammer. start with the key frame (leaving all the others in the same place on the floor ) and work from the map you created. you still have time to change things up (i needed to do that) and just let things fall into place. the best part of creating an eclectic wall is that you do not need each space to be evenly apart - i have my frames all over the place!
3. if you would rather take a more scientific approach to mapping out the wall, i recommend these posts:
i am in love with the wall and so excited about everything in the living room coming together! need to fill the space on a big empty wall? i recommend creating your own art wall!
Hi! Life is busy, yada yada, I haven't posted this week.
I crafted this post for Iris last weekend, and she shared it with her readers on Monday, but I thought that I'd share it with you today!
So here are, in my opinion, the 5 big things every photographer should think about, particularly about snapping photos of people, because that's what I do.
1. Composition
Composition is what makes your photo pleasing to the eye. Any photographer you talk to will tell you about the rule of thirds. Imagine breaking your frame into thirds and position the subject of your photo in one of the outermost thirds. There are times when it's appropriate to put your subject dead center, but often, the most interesting photos are when your subject is positioned to the left or right. Also be aware of where your light source is and pay attention to the lighting in your frame!
2. Focus
Its SO important, when photographing people, to make sure your focus is in the right place. Keep the focus of the photo tack-sharp on the eyes...that's what draws the viewer into the photo! I love these photos of Kathy and Amanda because the background in both photos is blurred...they have great depth of field, and the focus is sharp on their eyes and face.
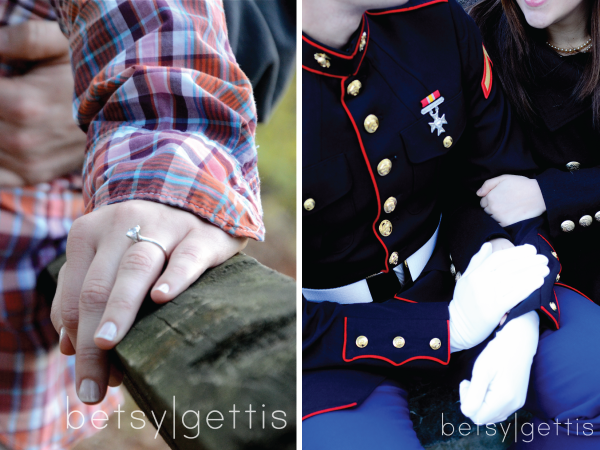
3. Details
Its easy, when shooting portraits, to make sure you get good shots of your subject's face. But what about all of the other details that make up the shoot? The thing is, your subject has probably put a lot of thought into their outfit. If you're doing an engagement shoot, there's a ring involved. Some of my favorite photos from shoots don't even include the face of the subject! I love how coordinated Nora and Brad were for their military-inspired shoot, and the way Brad folded Nora's hands into his was just precious...this photo communicates their love for one another without even showing their faces!
4. Subject
Who is the subject of your photos? If you're doing a shoot with just one person, the answer is obvious. When you're doing engagement, couple, or family shoots, you have the ability to switch things up. Often with engagement shoots, the bride-to-be is featured (and she should be!), but I like to make sure I also get a few shots where I focus on the groom-to-be. These two photos from my cousin's engagement shoot show examples of featuring both the bride and groom simply by varying who is looking at the camera.
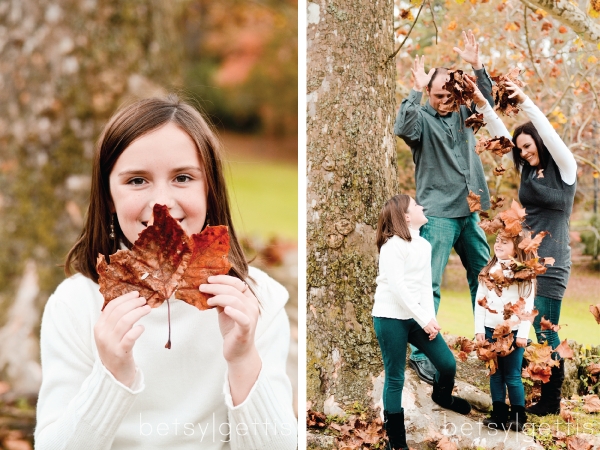
5. Keep it Fun!
Any time you're taking photos of people, there's the potential for them to be stiff or nervous, and those emotions will come through in their photos! Look for ways to keep it fun and loose, especially when you're working with kids. I did a family shoot this fall, and we took advantage of the fall leaves and incorporated them into the shoot! Sure, we also took serious, posed family shots, but having spent time playing and loosening up at the beginning of the shoot made everyone more comfortable, and made the entire experience fun and exciting!
So those are some of my tips. I'm definitely still learning and growing as a photographer, but these tips are just some of the things I've learned over the past few years.
You can also find more articles about photography here!